How to Set Up Your TexedPay Account (Simple Guide)
/
✅ Step 1: Create Your TexedPay Account
To get started you need to create TexedPay account, Here's how:
1. Go to [https://texedpay.com](https://texedpay.com) on your browser.
2. On the homepage, tap the blue account icon on the left-hand side of the screen.

Step 2: On the homepage,
click on the “Sign Up” button at the top right corner, as shown in the image.
This will take you to the registration page where you can create your TexedPay account.

Step 3:
You can either sign up using your Gmail account for quicker setup,
or manually enter your phone number.
✅ Don’t forget to agree to the Terms of Use & Privacy Policy by checking the box.
Then, click on the “Continue” button to proceed.

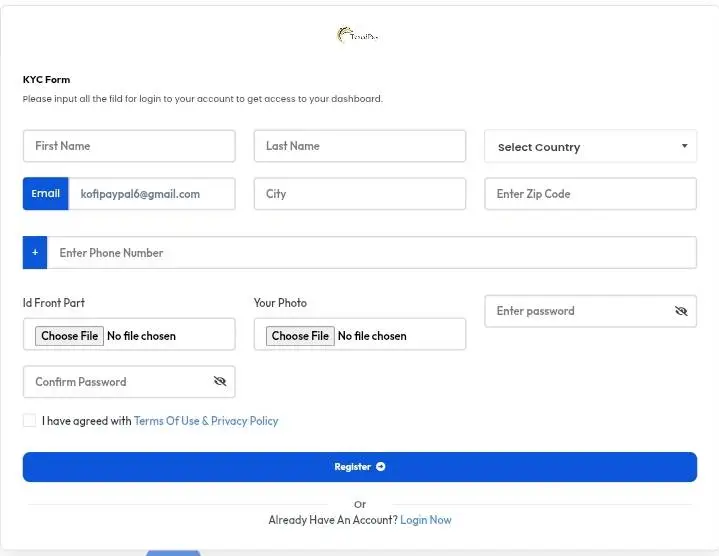
Step 4: Complete the KYC Form
After continuing, you'll be taken to the KYC form.
Fill in the following details:
- First & Last Name
- Country
- City
- Zip Code:
- Phone Number
- Upload your ID (front)
- Upload your ID (back)
- Create and confirm your password
- ✅ Check the box to accept the Terms & Privacy Policy
Finally, click “Register” to complete your account setup.

Step 5: Final Check & Approval
Before submitting, make sure all your information is accurate — especially your name, phone number, and ID documents.
After clicking Register, your account will be reviewed.
⏳ Wait for KYC approval — once approved, you’ll gain full access to create virtual cards and use all TexedPay services.
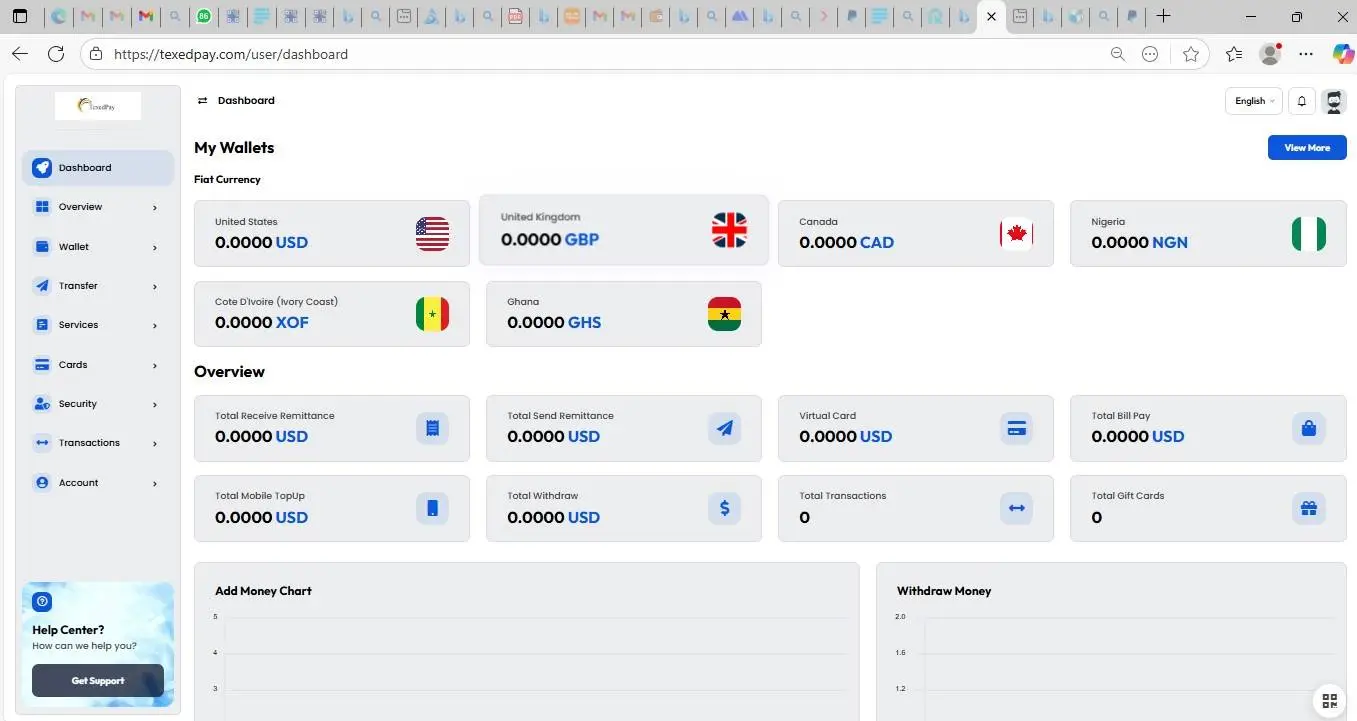
After successful registration, you’ll be redirected to your TexedPay dashboard.
From there, you can:
- Fund your wallet
- Create virtual Visa cards
- Send and receive money
- Access services like gift cards, mobile top-up, and more.